
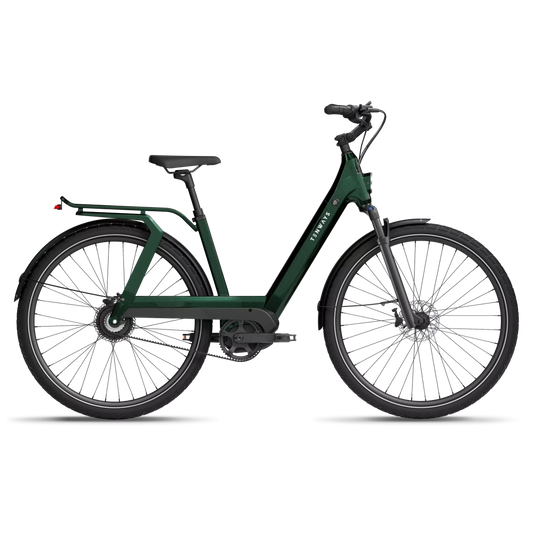
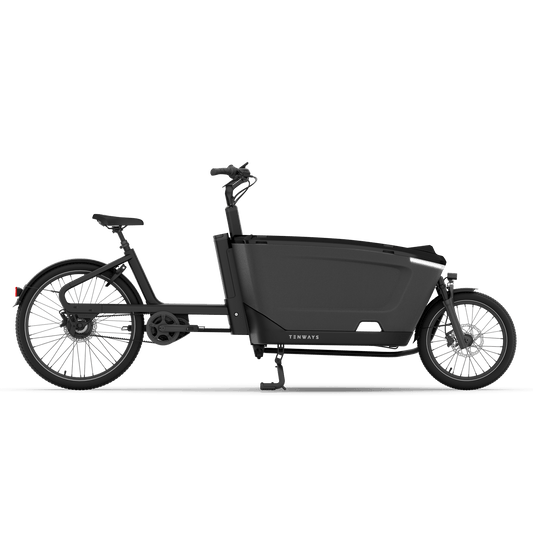


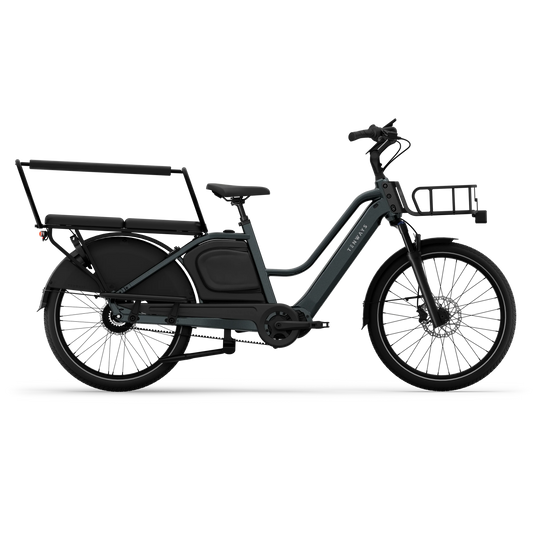
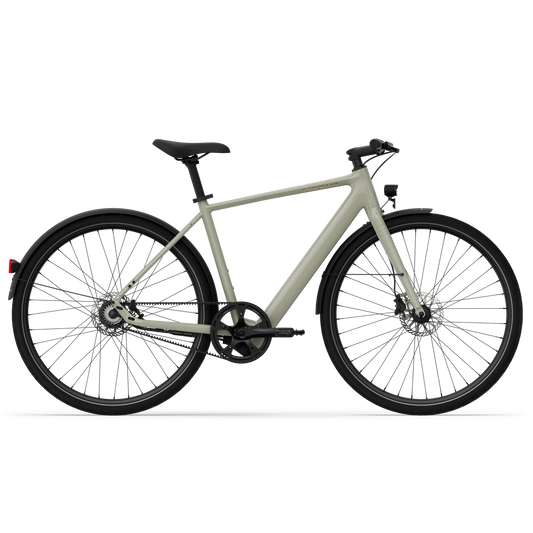


A used step-through e-bike can be good value when the battery, motor and frame have been looked after. The risk is that expensive wear is less visible than a scratched mudguard or faded paint.
Inspect the bike as one electrical and mechanical system: verify documents, test every assistance level and budget for a professional service. The complete guide to step-through electric bikes helps if you are still comparing used models with other categories.
Set a Realistic Budget
Start with the total cost of putting the bike into reliable daily use. Add any immediate work, replacement keys, charger, battery assessment, tyres, brake parts and a workshop inspection to the asking price.
Compare that total with current electric bikes for sale, including the warranty, trial period and support that come with a new purchase. A low used price is less attractive when the battery or proprietary electronics need early replacement.
Age alone does not set value. A higher-mileage bike with clear maintenance records can be a safer purchase than a rarely used bike stored for years with an empty battery. Our guide to how long an electric bike lasts explains which parts age through use and which deteriorate through time or storage.

Check Battery Health
Ask for the original capacity in watt-hours, the age of the battery and a description of how it was charged and stored. Cycle count can help when the system records it, but remaining usable capacity is more important.
Charge the battery with the correct charger and check that the display reaches the expected level without errors or unusual heat. During the ride, watch for a rapid drop in charge or assistance that cuts out under load.
Inspect the case, mount, contacts and charging port. Cracks, swelling, corrosion, water marks, damaged seals or a loose fit need professional assessment. Do not open the battery or attempt a home cell repair.
A short test ride cannot prove full range. When battery condition is central to the purchase, ask an authorised workshop whether it can provide a diagnostic report or capacity test for that system.
Inspect Motor, Display and Charger
The motor should start smoothly, respond consistently to pedal input and stop assisting when pedalling stops. Listen for new grinding, knocking or repeated clicking. Some motor noise is normal, so compare it with another example or ask a technician when uncertain.
Test every assistance level, the walk-assist function where fitted and all display buttons. Confirm speed, battery status and error messages behave normally. Check lights and any app connection included with the bike.
Use the original or manufacturer-approved charger for the test. The label should match the battery system, and the cable, plug and casing should be intact. An unverified charger is a safety concern and a replacement cost.

Inspect Frame, Fork, Brakes and Tires
Frame
Clean enough of the bike to see the welds, head tube, bottom bracket area, motor mounts and rear dropouts. Look for cracks, dents, fresh paint over a small area or alignment that appears uneven. Cosmetic scratches are common; structural damage needs expert inspection.
Fork and steering
Apply the front brake and rock the bike gently. Movement at the headset can indicate adjustment or wear. Turn the handlebar through its range and check for stiffness, cable pulling or rough bearings. A suspension fork should move smoothly without leaking fluid.
Brakes
Inspect pad life, rotor condition and lever feel. The bike should stop in a straight line without pulsing, scraping continuously or pulling one way. Spongy hydraulic levers or frayed cables need attention.
Tires and wheels
Look for cuts, cracked sidewalls, flat spots and embedded debris. Spin each wheel to check for side-to-side movement and listen for rough bearings. Correct inflation matters during the test; use our e-bike tire pressure guide to choose a sensible starting point.
Service History and Ownership
Ask for the original invoice, serial number, manuals, battery keys and service receipts. Confirm that the frame number has not been removed or altered. Where a national or local bicycle register exists, check it before payment.
The seller should be able to explain where the bike came from, how long it has been owned and why it is being sold. A vague history is not proof of theft, but it is a reason to slow down and verify documents.

Check the current manufacturer warranty terms rather than assuming coverage transfers automatically. Proof of original purchase, country of purchase and authorised servicing can affect support.
Test-Ride Checklist
Start with the motor switched off and check that the bike rolls and pedals freely.
Use every assistance level and watch for error messages.
Test both brakes separately at a safe speed.
Shift through every gear under light load.
Ride over a mildly uneven surface and listen for loose parts.
Restart on a gentle incline and check for electrical cut-outs.
Confirm the frame size, saddle range and handlebar reach suit the rider.
Recheck the battery mount, wheels and brakes after the ride.
Arrange the test in daylight on a route that includes a stop, a turn and a small gradient. Keep the seller’s identification or sales platform protections in place until the inspection is complete.
Red Flags and Deal Breakers
A missing or altered frame number.
No plausible ownership history or refusal to show proof of purchase.
A swollen, cracked or water-damaged battery.
The wrong charger or damaged charging equipment.
Motor cut-outs, persistent error codes or burnt smells.
Cracks, dents or visible misalignment around structural frame areas.
Pressure to pay before inspection or a price far below comparable bikes without explanation.
Small service items can be negotiated into the price. Unclear ownership, battery damage and structural faults are reasons to walk away. When the bike passes the checks, record the sale in writing and arrange a professional service before relying on it for daily travel.


